configure [KAKAO MAP] 01
set [KAKAO MAP] 01
This section covers the basic setup for using the Kakao map api.
tools to use
- vscode
covers
- creating a project
- requires a kakao Dev Center account
- creating an application in the kakao Dev Center
- displaying a map
1.Create a project
create a directory where you want to create the sample project.
after running vscode, click Open Folder from the menu and select the directory you just created.
this is where we will now create our code.
to use the kakao map, we will create two files from the left menu.
- index.html - HTML file to display the map
- app.js - This is where we will implement the map-related functionality.
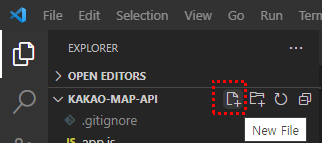
- you can create the files by clicking the
New Fileicon.
after creating the file, you should have two files as shown below.
TXT[PROJECT-ROOT]
  +- app.js
  +- index.html
select index.html from the menu.
enter the string html in the edit window and click html:5 in the list of templates.
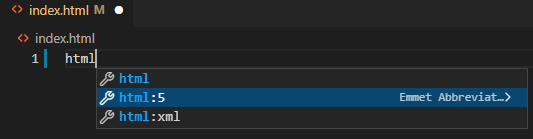
- a default template in HTML5 format is automatically created
confirm that the template is created as shown below.
index.html<!DOCTYPE html>
<html lang="en"><!
<head>
  <meta charset="UTF-8"> <head> <meta charset="UTF-8
  <meta http-equiv="X-UA-Compatible" content="IE=edge">
  <meta name="viewport" content="width=device-width, initial-scale=1.0">
  <title>kakao map demo</title>
</head>
<body>

</body>
</html>
- save with
ctrl+s
after checking the setup information required to use the map, we will write the code.
2. kakao developer center account
if you don't have an account, prepare a new one at [https://developers.kakao.com/].
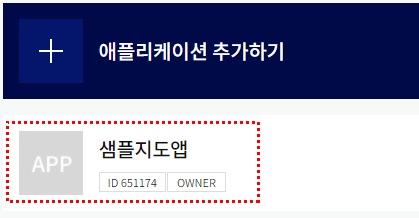
after logging in, click My Applications at the top.
you will see the screen to register a new application, as shown below.
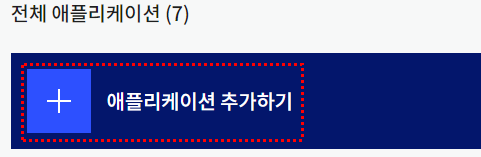
- the
applicationis where you set the key values needed to use the map, the domain to allow access to the key, etc. (it's called an application, but it's the same as the configuration information)
click Add application to add the
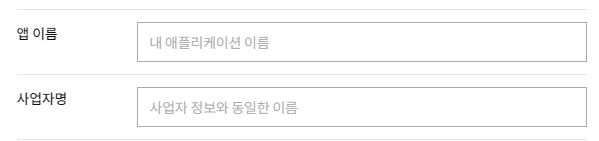
- app name
- business name
... with any value (no problem with functionality)
once the application is created, as shown below, click to go to the settings screen.
on the settings screen, you need to check two places.
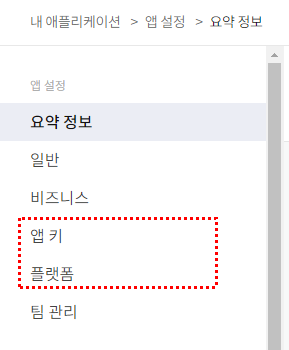
- appKey - Confirm the key you want to use in the map application you'll be implementing (you'll need to import it)
- platform - Enter the domain information to authorize the use of the app key.
2.1. Verify the app key
click AppKey in the menu and you will see 4 key values.
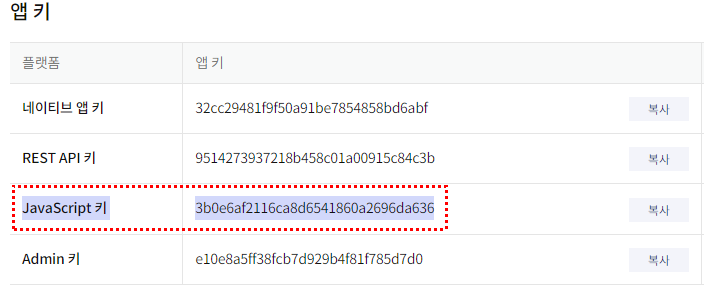
to use the map in a web browser, you need to use the JavaScript key.
2.2. Platforms
click Platform in the menu and then click Register WEB Platform*.
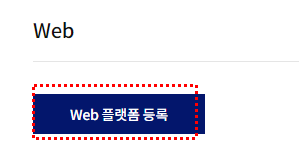
a screen will appear to enter your domain information where you can use the JavaScript key, as shown below.
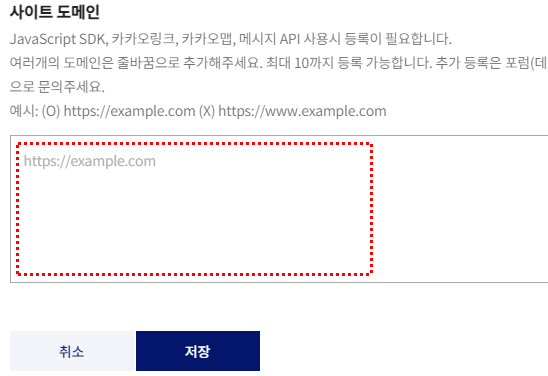
After writing the code in section 3 and verifying the domain and port number, we'll enter the site domain (for now, we'll just verify the location)
3. Write the sample code
draw a map using the values we found in section 2.
3.1. Add the library
back in vscode, add the code to index.html to display the map.
index.html<!DOCTYPE html>
<html lang="en"><!
  ...
<body>
    <!-- The area where the map will be displayed -->
    <div id="map" style="width: 500px; height: 400px"></div>
</body>

  <!-- 1. import kakao api -->
  <script
    type="text/javascript"
    src="//dapi.kakao.com/v2/maps/sdk.js?appkey=[JavaScript key value]"
  ></script>

  <!-- 2. import app js file -->
  <script src="app.js"></script>
</html>
- create a <div></div> inside the body tag and set the id attribute value to map. the id="map" is used by the javascript to locate where to insert the map. specify the width and height as appropriate
- in Section 2.2. Platform, we haven't set the Site Domain yet. We will add it after we run the test server in Section 3.
in the above code, paste the JavaScript key you found in section 2.1. in the .../sdj.js?appkey=[...] location. if the key value is 3b0e6af2116ca8d6541860a2696da636, modify the code like below.
HTML  <!-- 1. import kakao api -->
  <script
    type="text/javascript"
    src="//dapi.kakao.com/v2/maps/sdk.js?appkey=3b0e6af2116ca8d6541860a2696da636"
  ></script>
we also import app.js, where we will write our map-related code later (currently there is no code in it)
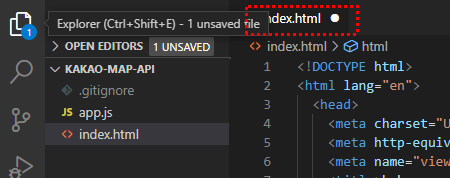
select index.html from the Save (ctrl+s) menu and right-click on it.
If you see a white dot on the right side of the tab, as shown above, it means that your modifications were not saved. Make sure to press ctrl+s to save.
3.2. Install Liver Server
you can try running the HTML, CSS, etc. you are working on in VSCODE on a test server. to do this, install the extension.
in vscode, click the Extension button.

on the screen like below, search for the extension with Live Server.
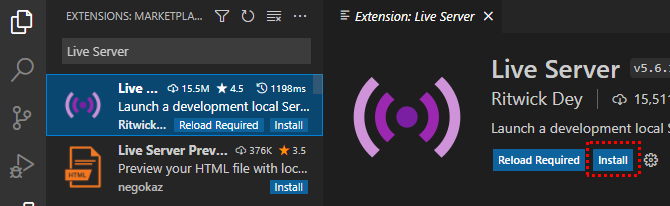
- it may have a similar icon, so pay attention to the name and author.
click the search result and the installation page will appear on the right. click install to install Live Server.
after the installation is complete, click the Explorer button to go to the source code editing menu.

3.3. Run Liver Server
select index.html from the Explorer menu and right-click on it.
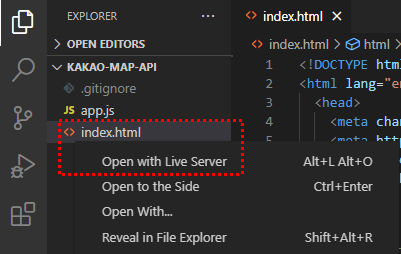
If Live Server is installed, the Open with Live Server menu will appear in the context menu. clicking this menu will give you the port information to view index.html in your browser.
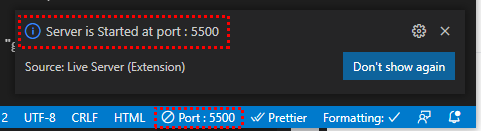
- at the bottom of the vscode it says that the server is running on port 5500 (yours may be different)
paste the address below into your browser's address bar, combining the port numbers.
TXThttp://localhost:5500
- check your respective port numbers
the map doesn't appear because we don't have a Platform/SiteDomain setting yet.
to check the problem, we'll use a useful tool built into the browser.
Check for 401 Unauthorized
right-click on the browser screen and click inspect.
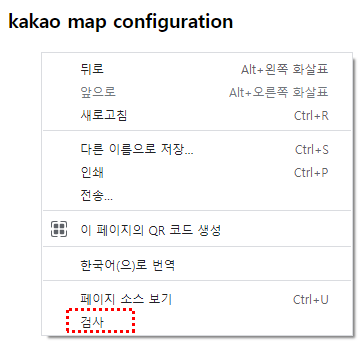
the chrome dev tool will appear on one side of the browser.
- various tools to check the status and issues of your web application
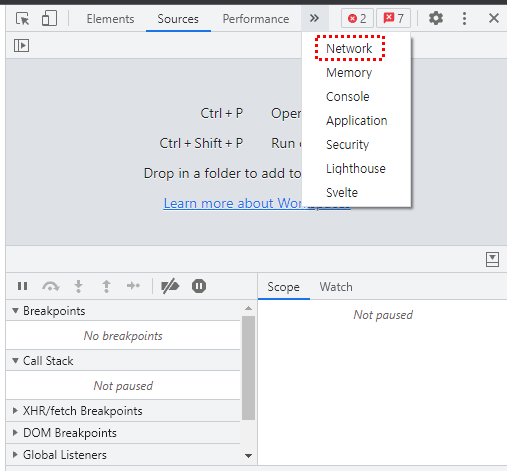
in a screen like the one above, click the Network tab and refresh the page, and you should see the resources that failed to load appear in red text, as shown below.
- clicking the Network tab
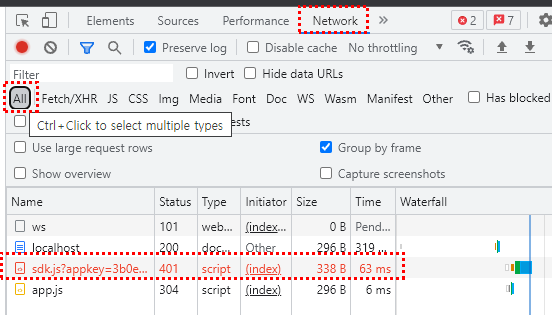
- click All to output the status of all resources loaded
- check for 401 error - Failed to load kakao javascript library
Resolve the 401 error
as already described, add the Platform/SiteDomain setting to fix the error.
copy http://주소:포트번호 from your browser address bar, go back to the screen in section 2.3 and paste it into the edit screen.
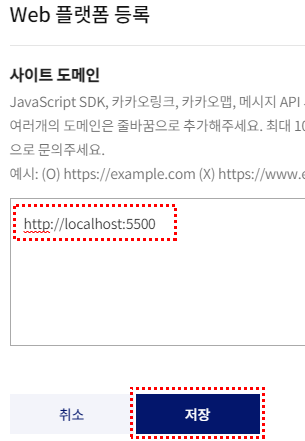
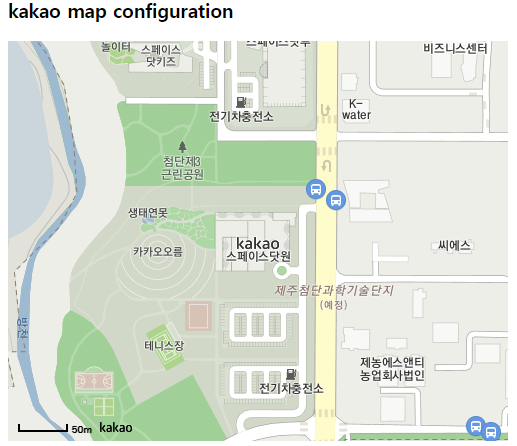
after you press Save, come back to the browser and verify that the map appears correctly.
4. Source code
index.html<!DOCTYPE html>
<html lang="en"> <!DOCTYPE html:index.html
  <head>
    <meta charset="UTF-8" />
    <meta http-equiv="X-UA-Compatible" content="IE=edge" />
    <meta name="viewport" content="width=device-width, initial-scale=1.0" />
    <title>kakao map demo</title>
  </head>
  <body>
    <h3>kakao map configuration</h3>
    <!-- The area where the map will be displayed -->
    <div id="map" style="width: 500px; height: 400px"></div>
  </body> </div>

  <!-- javascript key!!!!!!!! -->
  <!-- 1. import kakao api -->
  <script
    type="text/javascript"
    src="//dapi.kakao.com/v2/maps/sdk.js?appkey=3b0e6af2116ca8d6541860a2696da636"
  ></script>

  <!-- 2. import app js file (order!!!) -->
  <script src="app.js"></script>
</html>
app.js// nothing